Updated October 2026
Automatic Pool Cover Rope and Pulley Alignment
Tightening the wrong nut can leave a dragging pulley unresolved. Check rope routing and resistance before a technician adjusts take-up; rope length, reel braking and clutch settings have different jobs. Opening image: generated photographic illustration.
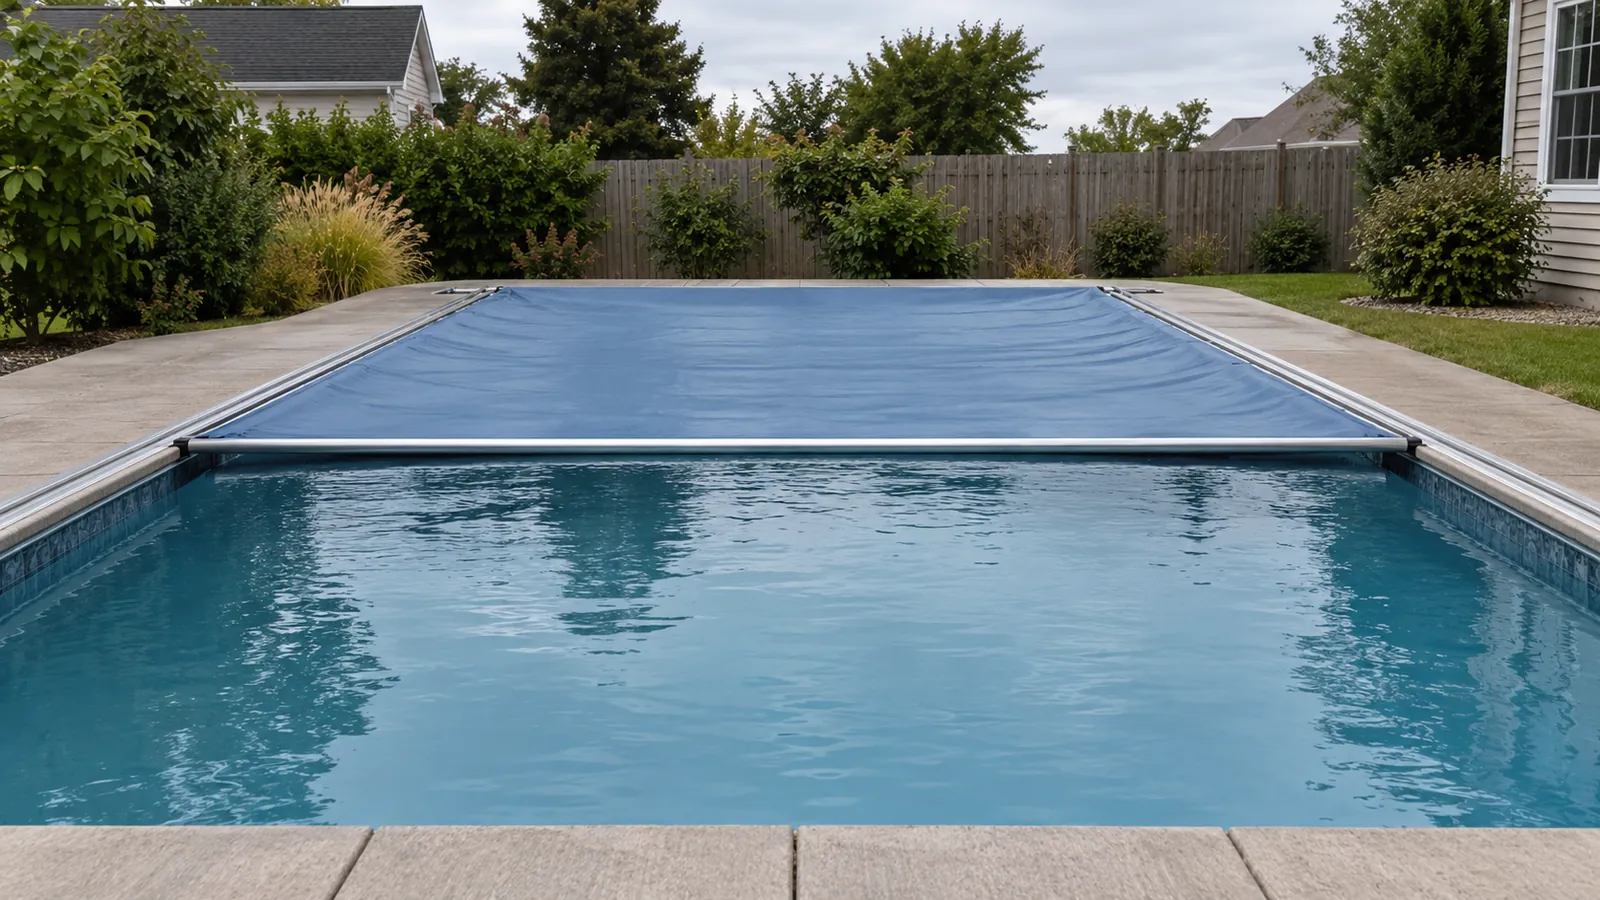
Quick checks before a tension adjustment
Rope alignment and tension are not a single setting. First separate an obstructed travel path from unequal rope take-up. A leading edge that stops early on one side tells you where to investigate; it does not identify which nut to turn. The checks below produce a service record rather than an adjustment target.
If the cover is out of its guide, a rope is broken, or the mechanism is grinding, stop operation and arrange service. Start with the crooked-travel owner checks for the broader symptom. This guide concentrates on the rope path, pulley resistance and the functions of adjustment hardware.
The T4 owner manual identifies low pool water, water on the cover, bad track pulleys and track debris as possible reasons for clutch slip. Record the specified operating water level and arrange removal of water on the cover before a technician judges take-up.
Takeaway: document the resistance and the travel direction before treating a crooked cover as a tension problem.
| Input or item | Value or source | Why it matters |
|---|---|---|
| System identity | Model label and matching installation manual | Determines which rope, cable and adjustment procedure applies |
| Travel direction | Owner observation from the dry deck | Separates opening trouble from closing trouble |
| First unequal position | Photo and position along the pool | Helps locate a recurring obstruction |
| Pulley behavior | Reported clicking, grinding or rubbing | Gives the technician a wear or routing check |
| Recent changes | Fabric, rope, track or deck work | Identifies which assembly needs rechecking |
Trace the rope path before changing its length
A technician should compare each rope path with the diagram for the installed mechanism before shortening a line. A pulley is a grooved wheel that redirects the line; the reel stores and releases it. A correctly identified rope can still rub if it follows the wrong channel or approaches the pulley at the wrong angle.
The Eclipse installation checklist calls for the specified routing, a straight return from the guides and clearance from brackets and the deck. Its routing illustration is specific to that assembly. Use those checks to ask where contact occurs, rather than copying its pulley sequence onto another mechanism.
Ask the technician to record the two sides separately: guide-exit contact and approach; pulley-groove seating and wear; return-path rubbing against fixed hardware; and reel winding or attachment. Note whether a line crosses another line or leaves a visible wear mark. Do not pull loaded rope out of a housing to obtain a photograph. The track systems overview helps distinguish the guides from the drive assembly.
The current parts guide separates rope assemblies from stainless-steel cable assemblies. Neither a shiny line nor the phrase “high strength” establishes compatibility. For replacement identification, use the rope and webbing inspection brief and the actual model parts list.
Takeaway: confirm the route and clearances with the model diagram before comparing effective rope lengths.
Illustration: the loose pulley and braided rope below identify the parts; they do not show an installed routing sequence.
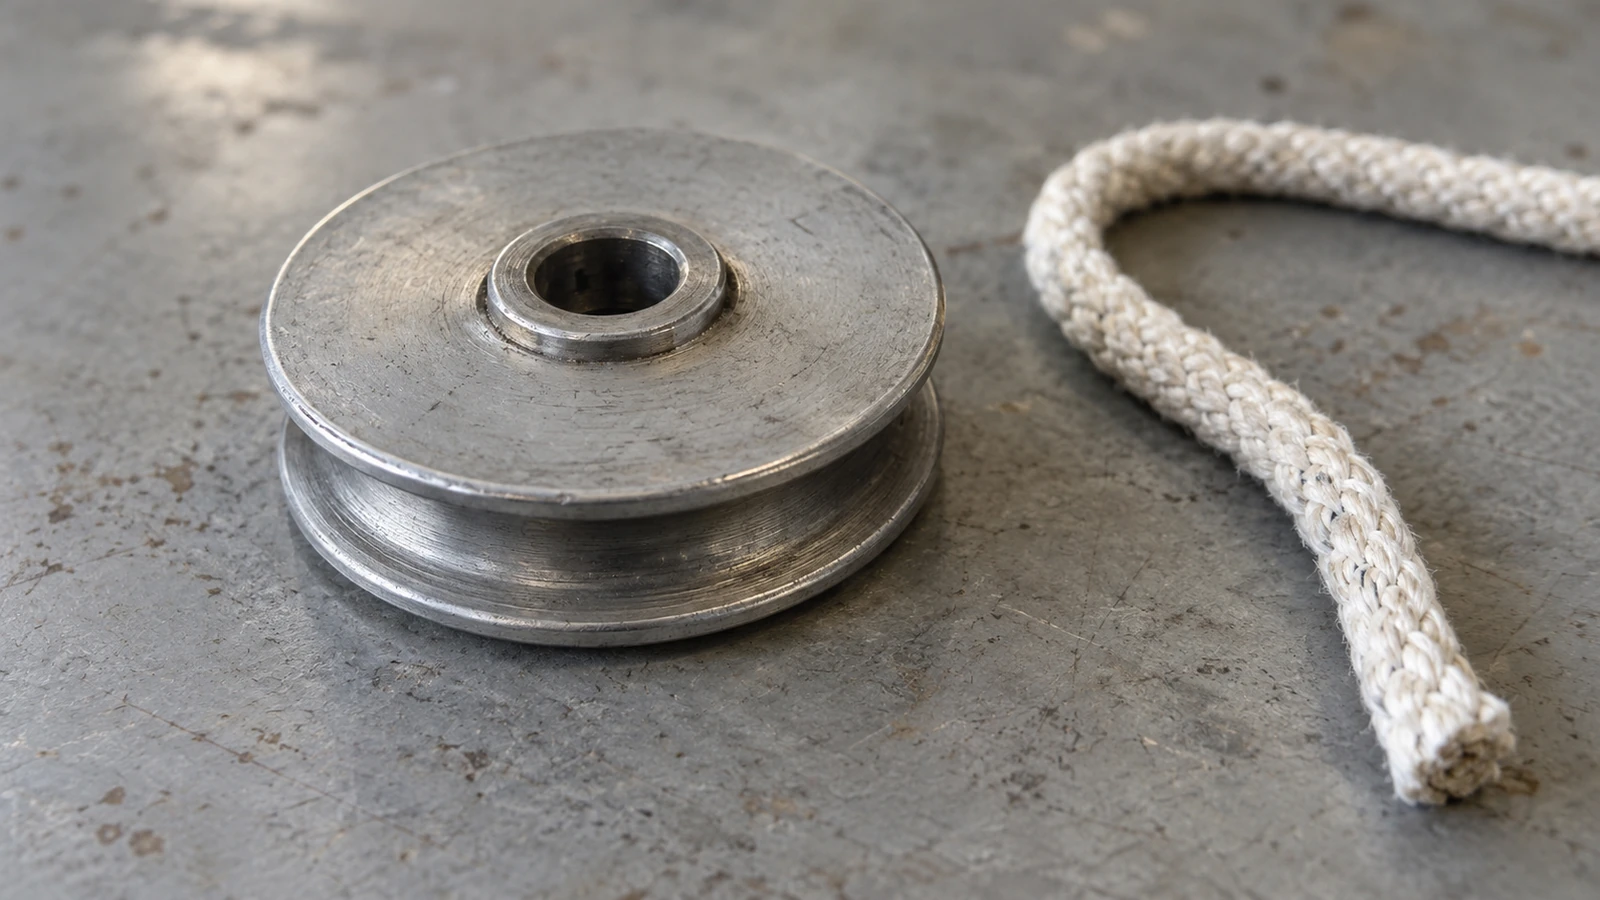
Check pulley resistance before balancing take-up
Treat clicking, grinding and localized rope wear as reasons to inspect the pulley, not as proof that a rope needs tightening. The T4 manual associates clicking or grinding at an end-of-track pulley with wear and advises service replacement. Its warning makes a pulley check a priority when alignment trouble appears with noise.
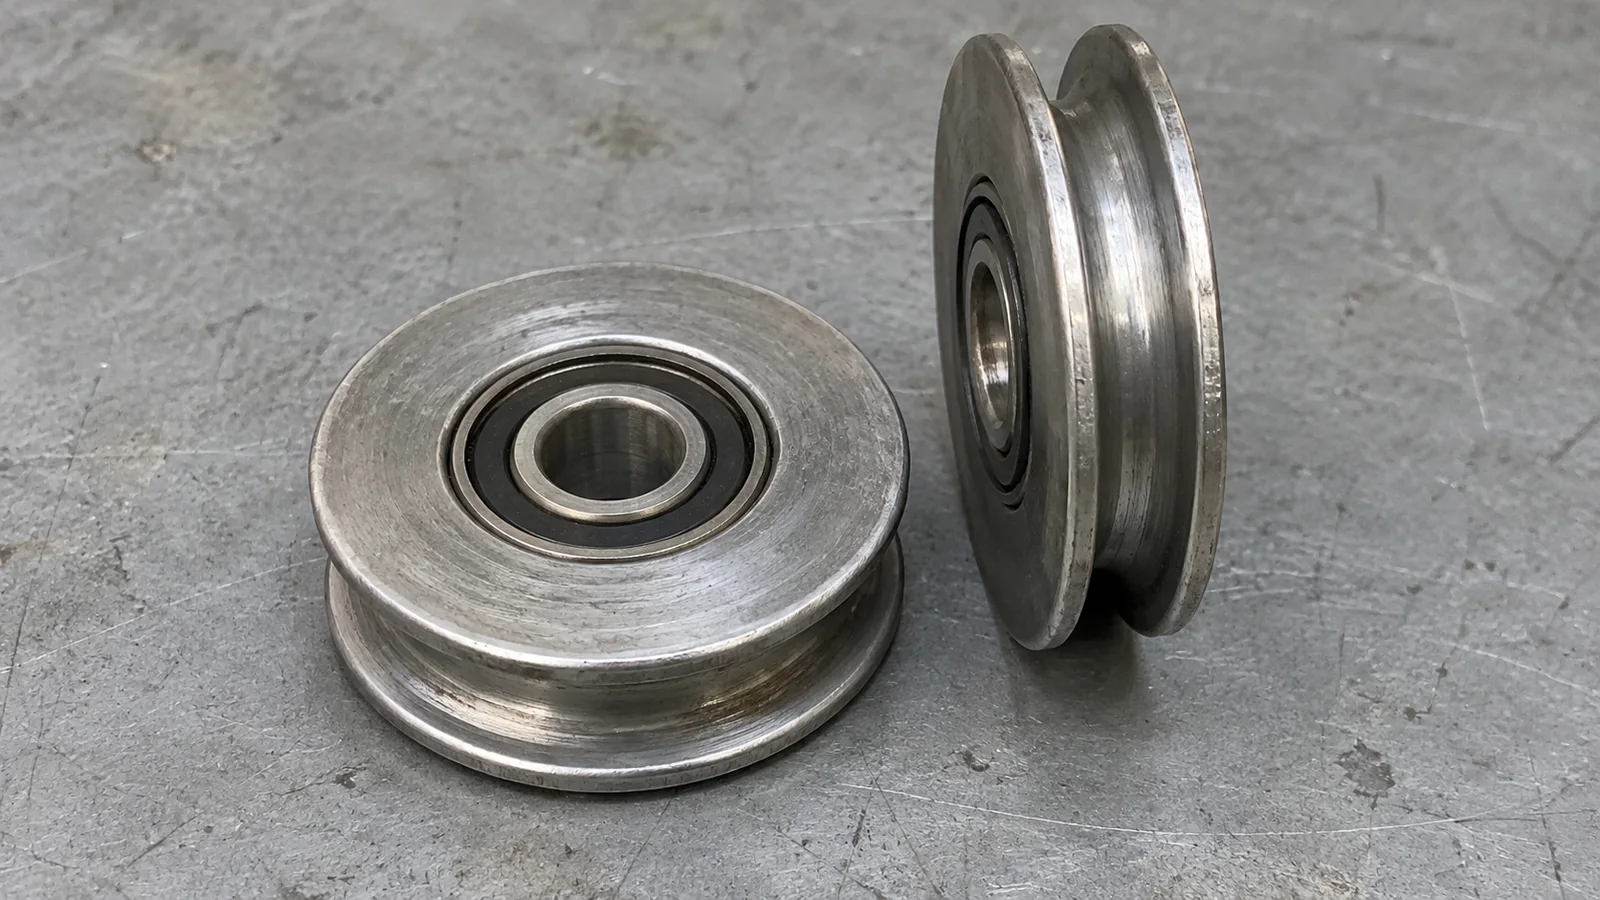
A groove problem and a bearing problem are different observations. The groove guides the rope; the bearing supports wheel rotation. A technician can investigate the groove, axle, bracket and rotational resistance after making the mechanism safe and unloading it as the matching service procedure requires. A photograph alone cannot confirm a seized bearing.
Record the location and timing of any noise: near a track end, inside the housing, only on opening or only on closing. If motion already binds or grinds, do not repeat runs to collect a better video. Existing observations are enough to arrange service. Track repair symptoms help describe a damaged guide or splice separately from a pulley.
Common mistake: spraying the rope or track to silence a squeak. The T4 manual prohibits grease or silicone on its rope/cable, webbing and tracks. A bearing or hub may have different lubrication instructions; consult the exact maintenance table. The track-cleaning guide covers cleaning, not bearing repair.
Takeaway: resolve the cause of pulley resistance before using rope adjustment to compensate for the slower side.
Illustration: detached pulley parts expose the groove and bearing area without representing the installed bearing type or its condition.
Identify the nut before any adjustment
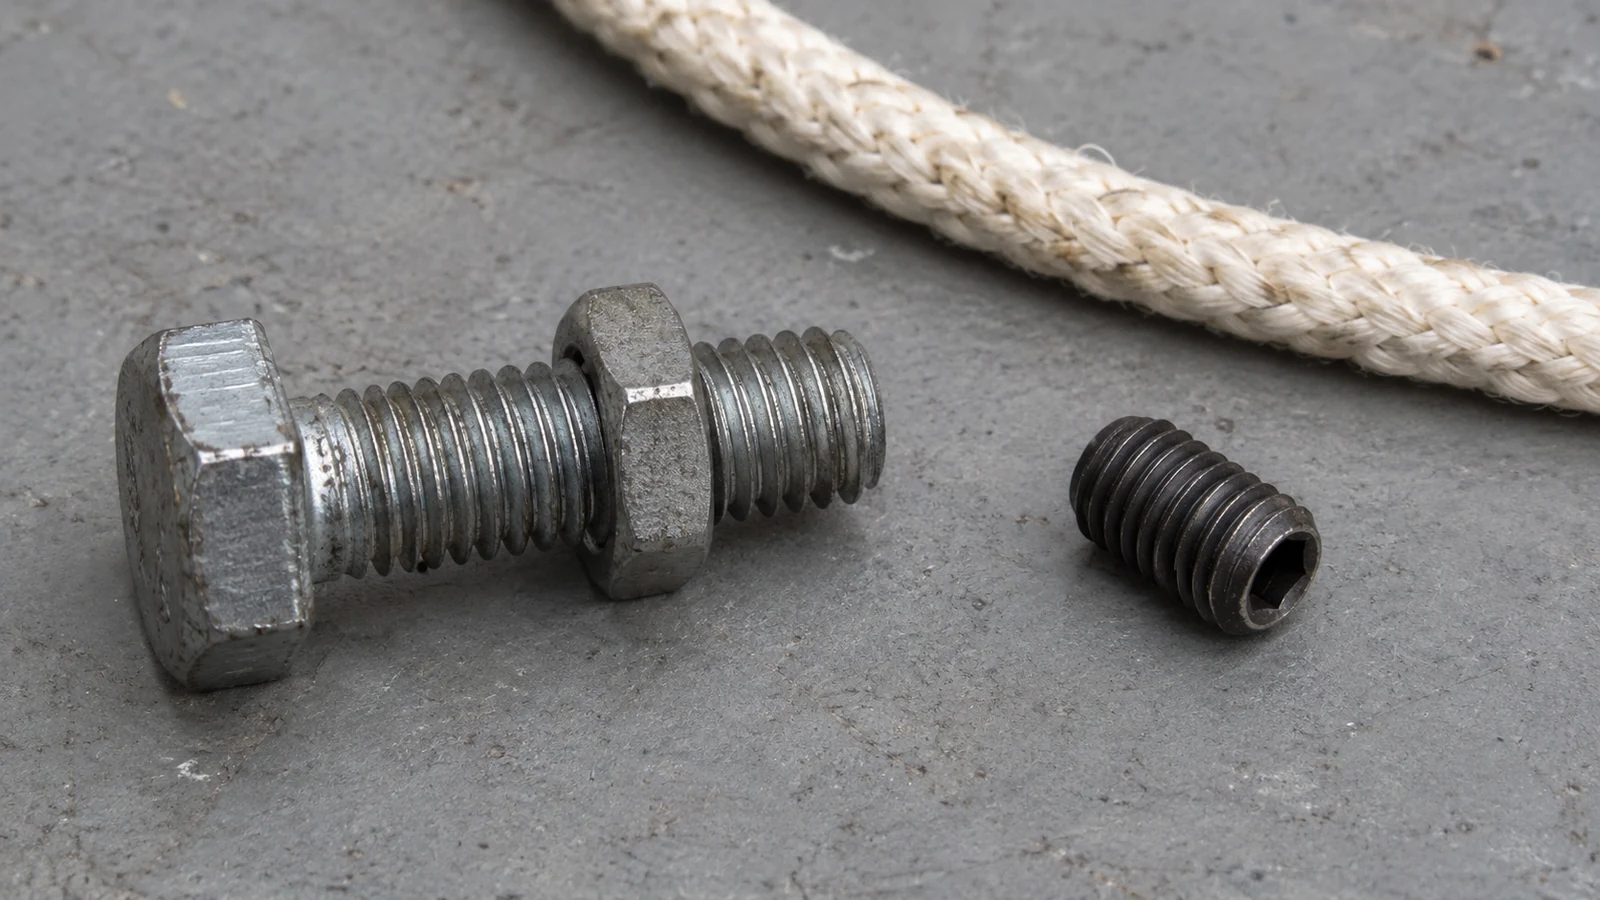
A jam nut, set screw and clutch nut can serve different purposes. Identify the part in the model manual before authorizing adjustment. The same visible shape does not establish its function, and “tighten both sides” is not a usable instruction without knowing which assembly is being adjusted.
In the Eclipse guide, rope length is corrected at the rope-reel attachment secured by a set screw. Its reel brake instead uses a jam nut and an internal set screw to control reel drag as rope pays out. That brake adjustment is not a substitute for correcting the rope path or a worn pulley.
The T4 manual describes adjustment nuts for its slip clutch, which can slip when the cover meets added resistance. It explicitly directs users to fix water, debris or pulley problems instead of adjusting the clutch to overcome them. For that T4 clutch configuration, the manual also warns against tightening it until it cannot slip on overrun; eliminating all slip defeats its protective function. Do not transfer a clutch procedure into a rope-length procedure.
Common mistake: increasing the clutch setting because one side hesitates. Ask the technician to name the hardware and explain which symptom the proposed change addresses. Use the automatic-cover parts diagram for component vocabulary; the installed system manual determines the procedure.
Takeaway: establish the hardware’s function before making a length, brake or clutch adjustment.
Illustration: generic loose hardware below demonstrates the words “jam nut” and “set screw”; it is not a location guide for an installed tensioner.
How a technician restores and verifies alignment
Adjustment should follow identification and repair of the travel-path problem. The T4 manual requires switching off power at the mains circuit breaker for maintenance and keeping hands and clothing away during operation. It directs uneven-retraction problems to the local service company. Owners should not adjust loaded rope or assist by holding it during travel.
For the service record, separate inspection, correction and verification. Ask the technician to establish the correct rope/cable configuration, examine the guides and pulleys, and identify any reel attachment or brake issue before changing settings. Any rope-length comparison or change belongs to qualified service personnel following the instructions for the identified mechanism.
Write down the diagnosed fault, the component corrected and the manual used. Record adjustments as service actions, not guessed targets. This page supplies no universal tension force, nut torque, turn count or allowable skew: those values depend on the installed mechanism and cannot be inferred from the cover’s appearance.
For the technician’s controlled verification, record behavior in each permitted travel direction, the position where unequal motion first appears and whether the original noise or rubbing persists. The procedure and acceptable alignment come from the matching manual. A satisfactory travel check does not establish safety certification or authorize people to stand on the cover.
If the fault remains, preserve the record and return to diagnosis. A repeated stop can require the motor and control symptom checks, rather than another mechanical adjustment. Use qualified service for faults outside the rope path.
Takeaway: ask for a recorded cause and a model-specific verification, not an unexplained increase in tension.
| Part to identify | Function to distinguish | Question for the technician |
|---|---|---|
| Rope attachment | Effective rope length / attachment | Which attachment and retention method does this model use? |
| Reel brake | Resistance to free reel payout | Is the brake being confused with pulley friction? |
| Slip clutch | Drive slippage under load | Has the source of excess resistance been removed? |
| Pulley axle or bracket | Wheel support and line approach | Is the part worn, displaced or incorrectly routed? |
When this does not apply
This guide applies to identifying rope-and-pulley issues on an automatic fabric-cover mechanism. It is not an installation recipe for every cover or a method for tensioning a manual winter cover. The rope and cable versions listed in a manufacturer’s catalogue need their own parts and instructions.
Stop this diagnostic path if there is a broken line, displaced fabric, damaged leading edge, flooding around powered equipment or an electrical fault. Keep the pool area secured and use qualified service. Structural track work, electrical control changes and hydraulic repairs need their corresponding procedures.
Do not interpret material labels as an adjustment specification. “Dacron,” “braided rope” and “stainless cable” are not interchangeable purchasing instructions. Confirm the system, part number and termination before replacement. This page does not specify a rope material or recommend a manufacturer.
Takeaway: use the guide to prepare an accurate service handoff; use the installed model’s documentation for the repair itself.
Record the fault for your service visit
Give your service technician a short record that distinguishes observation from diagnosis. Include the model, which direction was affected, where the difference first appeared and any recent change. Photos should come from accessible dry-deck viewpoints; do not lift a housing lid or move loaded components solely to complete the record.
Use the table as a written checklist, with “unknown” where an item cannot be observed safely. A blank bearing diagnosis is more useful than an invented one. After service, add the identified cause, parts changed and verification result to your maintenance record.
Related reading: the parts overview names components for the handoff; the annual-inspection guide organizes later checks. Neither replaces the matching service manual.
Takeaway: hand over clear observations and request the diagnosed cause and verification result in return.
| Record item | What to note | Purpose |
|---|---|---|
| Identification | Model/label, installation or service documents | Use the correct mechanism procedure |
| Symptom | Opening/closing, affected side, first observed location | Separate direction and location |
| Noise/contact | Reported sound and safe photo of its location | Direct inspection to a component |
| Operating conditions | Pool level, water on cover, visible debris | Check load before adjustment |
| History | Recent rope, fabric, track or deck work | Recheck the changed assembly |
| Service outcome | Cause, correction, manual and verification result | Make recurrence easier to investigate |
Method and sources
This guide interprets public installation and owner instructions; it does not report a field test. The rope-path, brake and clutch distinctions are examples from the documented assemblies. The actual cover’s manual and service procedure govern adjustment and replacement. Sources reviewed October 9, 2026.
T4 owner manual: operating load, pulley wear, lubrication and service precautions — Cover-Pools, 800210 REL-0003, pages 10–11 and 14. Cited for its documented mechanisms and cautions, not as a product recommendation.
Eclipse installation guide: routing and separate rope/brake adjustments — Coverstar instructions hosted by Ellis Pool Covers, pages 15, 18 and 23. The layout and adjustment hardware are specific to this assembly.
Parts guide: separate rope and stainless-steel cable configurations — Cover-Pools. Confirm the applicable system and current part number with the service provider; this is documentation, not a supplier ranking.
Questions
- What type of rope is used for pool covers?
- Identify the installed system before choosing a replacement. The cited parts guide lists rope and stainless-steel cable assemblies separately. Match the model, part number and termination; a material name such as Dacron alone does not establish compatibility.
- Is the cover too big?
- A slack-looking cover does not by itself prove a sizing error. The T4 manual describes water support and operating level as essential. Have the technician check the operating condition and installed fabric before shortening rope to change its appearance.
- I hear a "popping noise" when I open and close the cover, is this normal?
- The word “popping” alone does not identify the cause. Distinguish a sound at the rope reel from clicking or grinding at a track-end pulley; the T4 wear warning concerns the latter. A new, unexplained sound or noise with binding needs service assessment, without repeated runs to reproduce it.
- The cover stops half way opened or closed. What should I do?
- Stop forcing travel and note where the stop occurs. The T4 manual identifies water, low pool level, debris and bad pulleys as possible clutch-slip causes. A technician should investigate the resistance before increasing a clutch or control setting.
- The cover does not open or close when I activate the controller. What should I check?
- Record whether the drive makes a sound and whether there is visible obstruction from the deck. Follow the owner manual’s safe checks and contact service. Do not bypass the controller, open electrical equipment or treat a silent drive as proof of rope misalignment.
- Can I walk on my automatic pool cover?
- Keep off the cover during troubleshooting. Walking on the fabric or pushing the leading edge is not a way to straighten travel or test safety. The T4 manual warns that an improperly secured cover is hazardous; have abnormal operation assessed by qualified service.
Parent hub: Pool cover track systems