Updated October 2026
Pool Cover Vault Condensation vs Lid Runoff vs Shell Leak: Moisture Source Diagnosis and Ventilation
For a pool cover vault condensation, lid runoff, or shell leak complaint, check the moisture location and compare the water sample before choosing a service procedure. Record the sample location, weather conditions, and pool water level using the pool cover maintenance guide, then select the matching checks below.
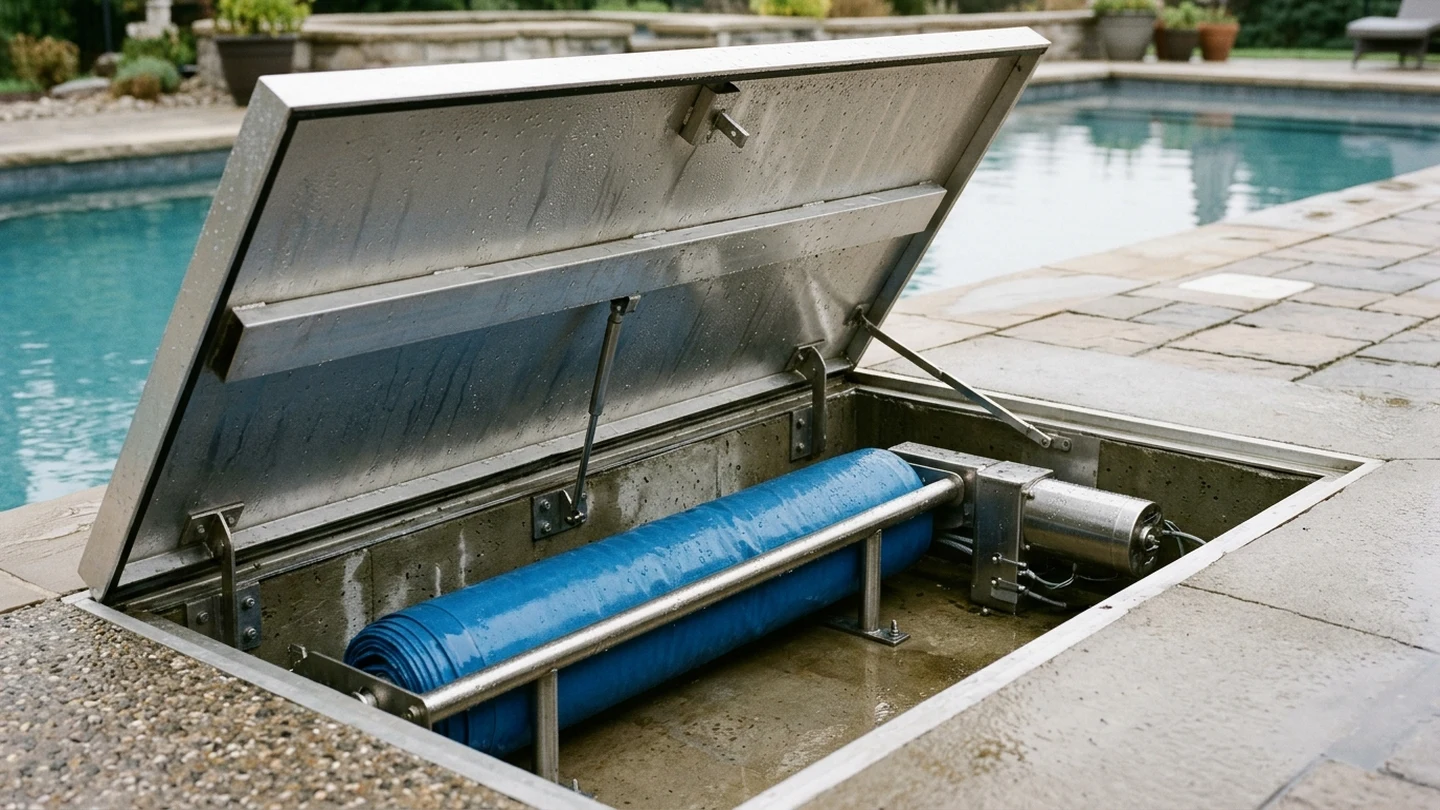
Dew point condensation vs electrical enclosure and drive moisture limits
Separate overhead condensation droplets from standing pit water in your inspection notes before opening any electrical enclosure.
In the NOAA National Weather Service dew point explanation, the dew point is the temperature the air needs to be cooled to at constant pressure in order to achieve a relative humidity of 100%, where the air cannot hold more water in the gas form.
In that NOAA explanation, if the air were to be cooled even more, water vapor would have to come out of the atmosphere in the liquid form, usually as fog or precipitation.
In the NOAA example, a temperature of 30 and a dew point of 30 will give you a relative humidity of 100%, whereas a temperature of 80 and a dew point of 60 produces a relative humidity of 50%.
In the SIREM COVEO control unit technical specification, the humidity limit is 95% max., with no condensation.
According to EN 60529, the SIREM COVEO control unit has an IP54 level of protection when installed in a room protected from the weather (no sun, no rain).
In the SIREM COVEO installation manual, the junction box to be installed beneath the edging tile is to be filled with IP68 insulating gel.
On the SIREM COVEO control unit, when manual mode is engaged, the contacts take the pool cover closed position for reduction of chlorine production.
In the SIREM control box sensor-error diagnostic procedure, open the junction box to check that there are no signs whatsoever of moisture.
In the SIREM junction box inspection, check that there is no corrosion of the copper wires and no copper wires covered with verdigris.
In the SIREM diagnostic manual, the Control box 4000 - 20A/24V lists standard EN60335-1, input voltage 210/250Vac at 50/60Hz, Imax input 2A, Pmax 720W, Pstandby 8W, and IPX4.
In the Framo Morat PoolCoverDrive technical data, the drive includes integrated protection from formation of condensation in its internal space.
In the Framo Morat PoolCoverDrive technical data, the stainless steel (V4A) housing provides high resistance to chlorine and salt water, with redundant seals for security against moisture penetration.
On the Framo Morat PoolCoverDrive, all flange screw fittings are sealed with U-seals and sealing compound.
Record the controller mounting room, junction-box gel condition, and drive housing model in the service file before replacing electrical components.
Lid expansion gaps, surface runoff and lid bracket configurations
Verify how the cover housing lid sheds deck water and where thermal expansion clearances sit around the pit opening.
In the Cover-Pools T3 Evolution owner’s manual, the standard aluminum lid over the cover housing is not strong enough to walk on; to prevent damage or injury, avoid stepping on the lid.
In the Cover-Pools T3 Evolution owner’s manual, the lid covering the housing should always be kept in place to avoid someone stepping into the housing area and to prevent rain from directly entering the housing.
In the Automatic Pool Covers flush lid riser installation instructions, measure the distance from the edge of the Main Lid to the Riser End Plate of the Motor End and allow a 1/16” gap for expansion.
In the Coverstar Gunite Pools construction guide, the Standard Aluminum Lid is supported by brackets every four to five feet, and these brackets are designed to support the lid only and cannot support the weight of a person walking on the lid.
In the Coverstar Walk-On Stone Lid specification, the lid material cannot be thicker than the coping used, but must be thick enough to support people on the lid between the brackets without breaking (typically 2 inches thick for stone).
In the Coverstar Walk-On Stone Lid specification, the lid material must be at least 14 inches wide to span the cover box opening.
In the Coverstar Recessed Top Track lid options, the opening for the cover is created by either elevating the front of the lid or by sloping the deck down below the front of the lid.
In the Coverstar Undertrack with Aluminum Lid installation instructions, position the lid over the top of the housing so the motor end and non-motor ends extend past the cover housing 1-2”.
In the Coverstar gunite encapsulation installation guide, mortar the top of the gunite walls so they have a flat, straight, and level surface of at least 3” for the encapsulation to be mounted to.
In the Travis Pool Covers lid options guide, for a standard lid the deck is flat for a minimum of 4 in. before any slope, and for a flush deck lid the deck is lowered 2 in. between the guides with the box installed 2 in. lower.
When reviewing lid hardware and deck slope layouts in detail, continue to the pool cover lid options guide.
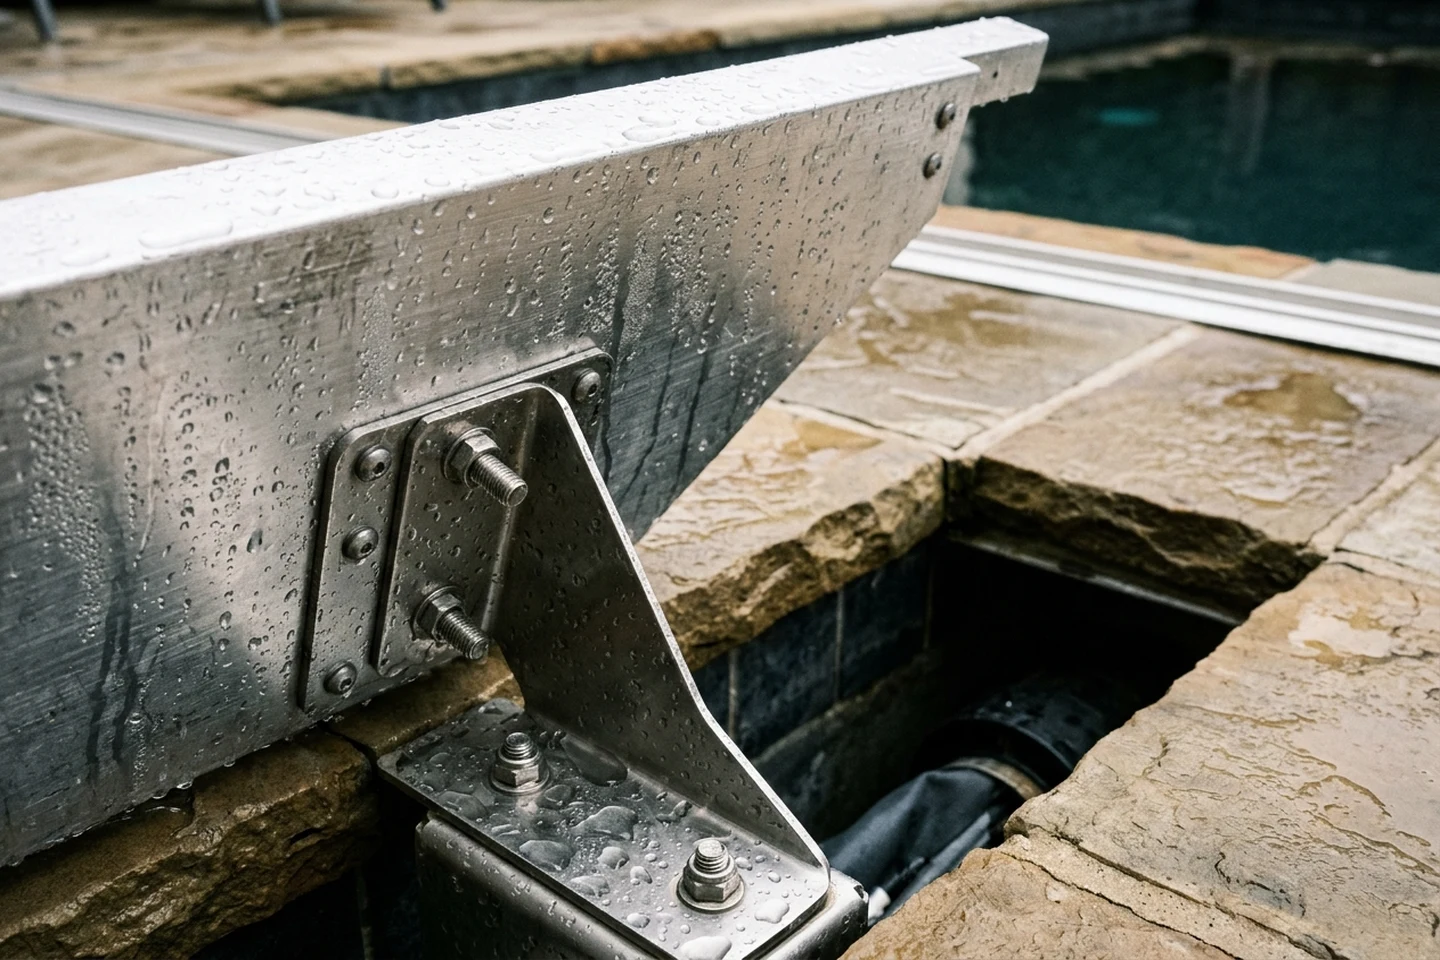
Bond-beam overfill, overflow obstructions and water-level controls
Inspect the pool waterline against the skimmer opening and the lowered bond beam throat whenever water enters the housing during dry weather.
In the Aquamatic Hydramatic pre-installation checklist, make sure there is a minimum 1” clearance between the bottom of the coping and the top of the lowered tiled bond beam.
In the DEL Rollinside maintenance instructions, a water level that is too high is due to the overflow being obstructed by leaves or other items, while a water level that is too low means that there is a risk of blockage.
In the DEL Rollinside manual, on infinity pools, DEL covers cannot be compatible unless the pool is equipped with a Vitalia INFINITY control box to automatically lower the water level by 2 cm when the cover is closed.
In the Ultra Modern Pool & Patio automatic pool cover care guide, keep the water level in the pool at the mid-skimmer level, because if the pool is overfilled, the water can flow over the lowered bond beam into the housing and flood the mechanism.
Document the skimmer water mark and overflow grate condition before testing for a shell or pass-through leak.
DPD free chlorine comparison, bleach-out precautions and water chemistry
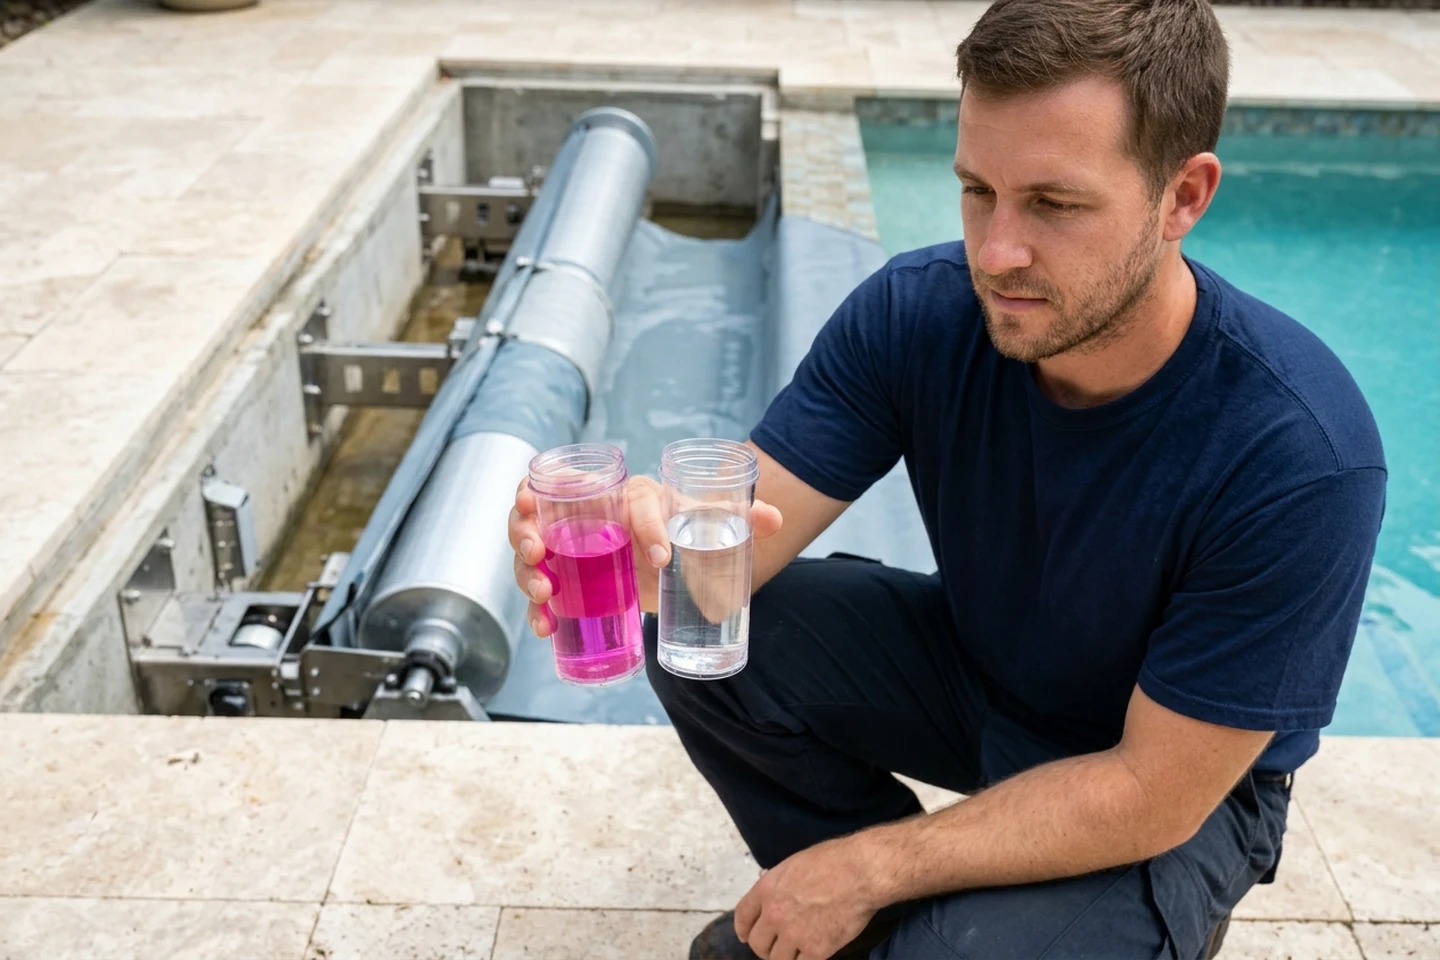
Compare water collected from the cover box against bulk pool water and log recent chemical additions before closing the cover.
In residential pool water guidance, the CDC recommends pH 7.0–7.8 and a chlorine concentration of at least 1 ppm in pools and at least 3 ppm in hot tubs.
In the CDC water testing guidance, if the chlorine concentration of the water sampled from the pool or hot tub is more than 10 ppm, the test might partially or totally bleach out, resulting in a false low or 0 ppm chlorine result.
The CDC notes that pool and hot tub owners can also use test strips; however, these are less accurate than the DPD test kit.
The CDC states that as pH goes down, especially if pH is <7.0, the ability of chlorine to kill germs increases but pool and hot tub pipes are more likely to corrode or break down.
In the Cover-Pools T3 Evolution owner’s manual, you must avoid a build-up in the quantity of chemicals in the pool water that can result in serious damage to pool walls and equipment.
In the Cover-Pools T3 Evolution owner’s manual, some chlorine shocks require 12-24 hours before returning to swim-safe range, and Cover-Pools Incorporated recommends using a non-chlorine shock because you can close the cover within 30 minutes.
In the Cover-Pools T3 Evolution owner’s manual swim-safe chemical table, maintain 1–5 ppm chlorine, 7.2–7.8 ppm pH, and 80–120 ppm alkalinity.
In the Ultra Modern Pool & Patio cover cleaning instructions, the sun dries pool water on the cover, causing high concentrations of chlorine on top of the cover that may damage the fabric, so wash the cover with a mild hand dishwashing liquid every 3-6 months.
In the Travis Pool Covers maintenance guide, high chlorine and low pH shorten fabric life, and shocking under a closed cover is a common way to stain or weaken the top side.
Record both the bulk pool reading and the cover-box water sample reading in the maintenance log.
Dividing-wall flange gaskets, shaft bearings and removable pit grates
On dry-pit or through-wall drive installations, inspect the motor-side dividing-wall flange gasket, shaft bearing, and pit access panels.
In the DEL Rollinside dry-box motor-side flange instructions for Liner 75/100e or Membrane 150/100e with 6 x 30 lag screws, for any other type of waterproofing, do not use the N°1 Gasket.
In the DEL Rollinside dry-box motor housing side waterproofing instructions, grease the stainless-steel axis in order to put the rolling-element bearing on, and the spring needs to rest against the rolling-element bearing.
In the Compass Pools Rollo Cover motor-side installation sequence, screw the bolts M8x35 into the wall duct flange, put a seal between the flange and pool wall, and use silicone to seal off the wall duct flange.
In the Compass Pools Rollo Cover skimmer-to-main-drain connection sequence, drill a hole Ø 60mm and smooth and clean the surface around the hole so the wall duct can be installed properly.
In the Compass Pools Rollo Cover pit enclosure instructions, at the back of the SS frame you put wooden panels/grates to close the cover pit, and the wooden panels can easily be removed to clean the pit or to do service.
In the Pool & Spa News installation report, after the cover went through its first winter, Keselman and a manufacturer’s tech decided to add extra padding in time for its second winter.
Keep dividing-wall shaft flange seal checks separate from top lid runoff observations in your service report.
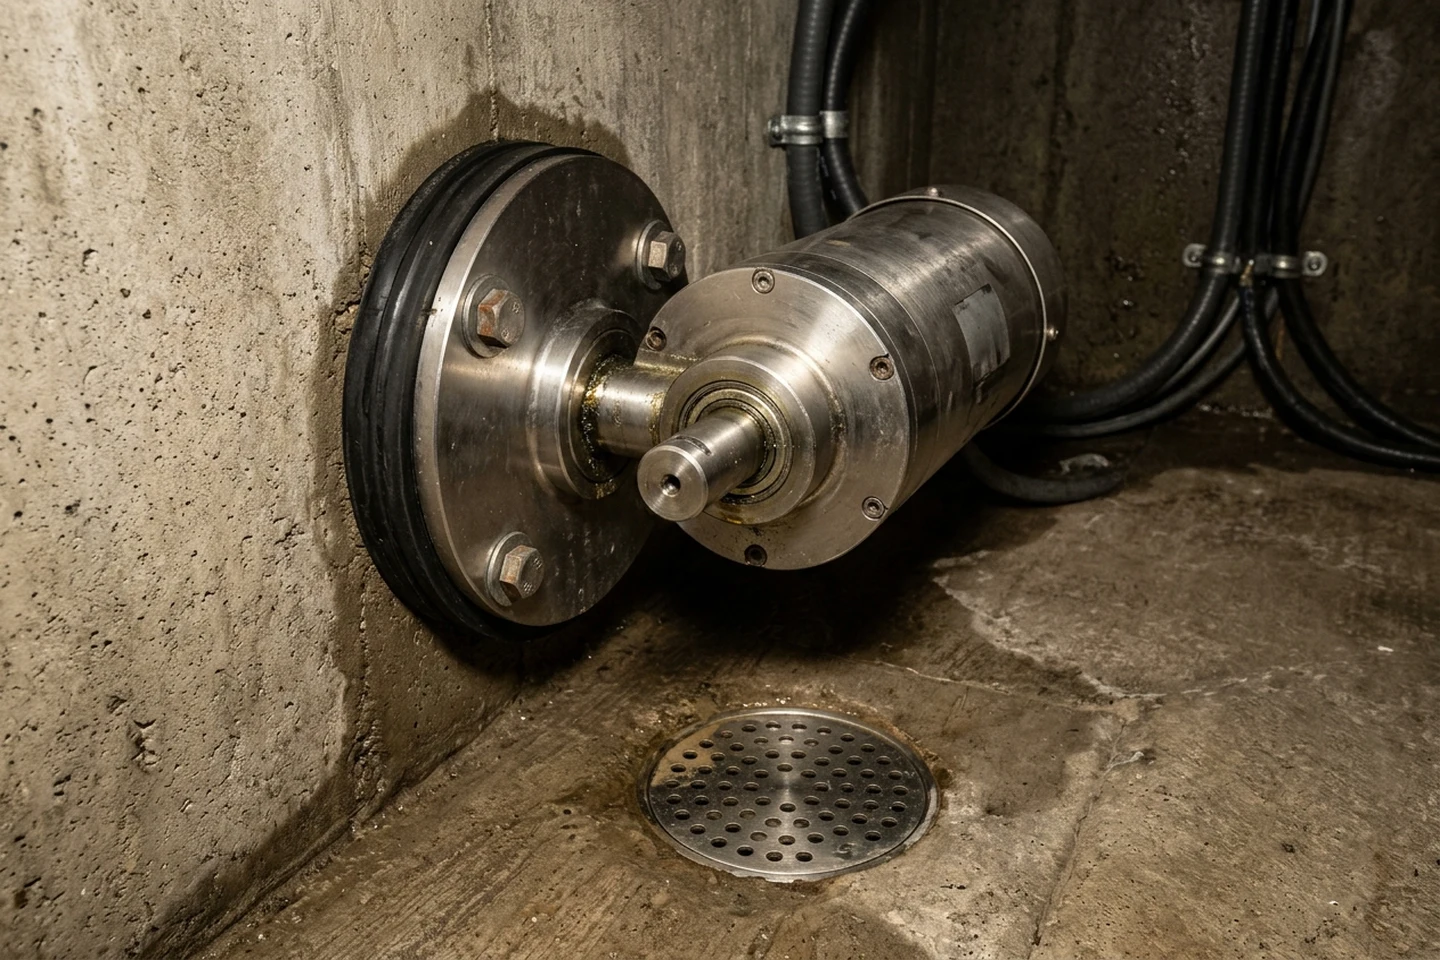
Housing drain placement, dry-well discharge and submersion limits
Verify that the housing floor slopes to an unobstructed end-wall drain and that any sump pump cycles only when water enters the pit.
In the Cover-Pools T3 Evolution owner’s manual, the motor provided is waterproof and capable of withstanding short-term submersion; however, you should not allow the motor to be submersed for periods longer than a few hours.
In the Cover-Pools T3 Evolution owner’s manual, the system housing should have adequate means of drainage for below-deck or recessed installations, and all drains should remain clear.
In the Automatic Pool Covers gunite cover box specifications, do not place the drain in the middle of the cover box because it will end up under the cover and be inaccessible.
In the Automatic Pool Covers gunite cover box specifications, the cover box must be at least 16” deep and all points of the floor should be at least 16” deep, with a sloped floor recommended.
In the Automatic Pool Covers drilled under-track specifications, standard housing dimensions are 14”W x 14”D ID, a minimum 3” diameter drain is required, and an optional 2nd drain is shown.
In the Coverstar cover housing drain guidelines, if the site topography has no significant slope, the finished pool height should be elevated 24 inches above the surrounding grade to allow for a daylight drain.
In the Coverstar cover housing drain guidelines, do not use French drains where the drain end is buried in a hole with gravel because these types of drains typically fail within a year.
In the Coverstar cover housing drain guidelines, an accessible dry-well can be cleaned out and accommodate a sump pump, and if the cover housing will also function as an overfill drain, it must be able to handle a forgotten hose or rainfall.
In the Aquamatic Hydramatic pre-installation checklist, the cover recess or pit should be 13” wide (14” for a cover over 45’) and at least 15” deep from the top of the finished deck.
In the Aquamatic Hydramatic pre-installation checklist, although water will not hurt the Hydramatic system, water should not be allowed to stand in the bottom of the pit, as this water will become stagnant and produce an offensive odor.
In the Diamond Decks and Pools vault drainage guide, the goal is not a bone-dry vault every single day, and a small amount of standing water after a heavy storm is normal on most systems.
In the Diamond Decks and Pools vault drainage guide, a pump can be part of a normal automatic pool cover vault drainage setup, but running one continuously usually signals that something upstream, grading, a blocked drain line, or a failed float switch, needs attention.
In the Ultra Modern Pool & Patio Coverstar motor warranty note (3 years limited warranty), 95% of motor problems deal with moisture and most local motor companies are not equipped to do this.
In the Travis Pool Covers box and housing guide, the cited sheet lists a drain diameter of 3 in. minimum, stated as 3,000 GPH, and calls a 4 in. schedule 40 bottom exit, stated as 6,000 GPH, the best drain.
In the Travis Pool Covers drainage requirements guide, standing water in a recessed cover housing damages the mechanism and the fabric roll, and pool cover drainage requirements are the 3 inch outlet, the end-wall location, and the discharge path.
For housing dimensions and drain pipe layouts, continue to the pool cover box and housing guide and the pool cover drainage requirements guide.
Mechanism fresh-water rinsing, bearing lubrication and service boundary
Follow the manufacturer care schedule for rinsing dried chemical residue off metal parts and greasing bearings.
In the Cover-Pools T3 Evolution owner’s manual, the metal components of the pool cover should be rinsed off with fresh water only, and the frequency will vary with the usage of the pool cover.
In the Cover-Pools T3 Evolution lubrication schedule, Opposite End Bearing #130097 uses waterproof lithium type grease (Lubriplate #1200-2) twice per season.
In the Travis Pool Covers maintenance guide, owners rinse fabric, clear guides, pump rain, and keep water at the commissioned mark, while technicians handle ropes, limits, wet motor boxes, and hydraulic packs.
Record the breaker shutoff check, fresh-water rinse date, and technician handoff notes in the maintenance file.
Prepare the vault moisture inspection record
Copy this checklist into your maintenance log and attach photos of the lid underside, bond beam throat, drain outlet, and motor end before booking service.
- Record whether moisture appears as overhead droplets on the lid underside, standing water in the pit floor, or active flow over the lowered bond beam.
- Note recent rain, deck washing, fill-hose use, or leaf debris across the pool overflow grate.
- Record the bulk pool water sample reading and the vault floor water sample reading from the DPD test kit.
- Note whether the pool was recently shocked before recording the DPD sample comparison.
- Photograph the end-wall housing drain opening and note any leaves, silt, or standing water.
- Record whether an installed vault sump pump cycles intermittently or runs continuously.
- Photograph the dividing-wall shaft flange, bearing hub, and junction box on dry-pit systems.
- Log the date of the most recent fresh-water mechanism rinse and bearing lubrication.
Sources
- NOAA / National Weather Service: Dew Point vs Humidity
- SIREM: COVEO Motorized Pool Cover Technical & Installation Manual
- SIREM: COVEO Troubleshooting & Diagnostic Guide
- Framo Morat: PoolCoverDrive with AQUASEAL Technology Technical Data
- U.S. CDC: Home Pool and Hot Tub Water Treatment and Testing
- Cover-Pools: T3 Evolution Automatic Pool Cover Owner’s Manual
- Automatic Pool Covers: Specification Book
- Coverstar (Latham): Gunite Pools Photo & Construction Guide
- Coverstar (Latham): Undertrack Install Guide with Aluminum Lid
- Coverstar (Latham): Undertrack Encapsulation Installation Guide
- Aquamatic Cover Systems: Hydramatic Undertrack & Toptrack Recess Mechanism Installation Manual
- DEL (CF Group): Rollinside Dry-Pit Installation Manual
- Compass Pools: Rollo Cover Installation Manual
- Diamond Decks and Pools: Automatic Pool Cover Vault Drainage
- Ultra Modern Pool & Patio: Use & Care of Automatic Pool Covers
- Pool & Spa News: Learn the Keys to Successful Pool Cover Installation
- Travis Pool Covers: Pool Cover Maintenance, Box and Housing, Drainage Requirements, and Lid Options
Parent hub: Pool cover maintenance